
Unity开发Rokid应用之离线语音指令交互模型
系列文章目录
unity知识点
@TOC
👉前言
Rokid Unity OpenXR Plugin 是为Unity 开发者提供的在 YodaOS-Master 空间计算操作系统上开发空间计算应用的工具。它基于OpenXR 标准开发,帮助开发者在 YodaOS-Master 上进行空间构建、虚实交互、空间感知,并最终构建完整的空间应用。 本篇内容可接我的上两篇内容:
博客将会介绍如何实现 用Unity引擎开发Rokid主机的离线语言交互模型的操作。希望这篇博客对Unity的开发者有所帮助。 大家好,我是心疼你的一切,不定时更新Unity开发技巧,觉得有用记得一键三连哦。 欢迎点赞评论哦.下面就让我们进入正文吧 !
提示:以下是本篇文章正文内容,下面案例可供参考
👉一、效果实现
视频链接:https://live.csdn.net/v/501817
👉二、场景搭建
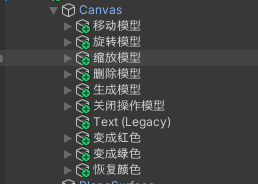
这个就不多说了,在上一篇的内容里新增的脚本和UI,这里只把新增的东西放上去
- 新增的UI视图如下:
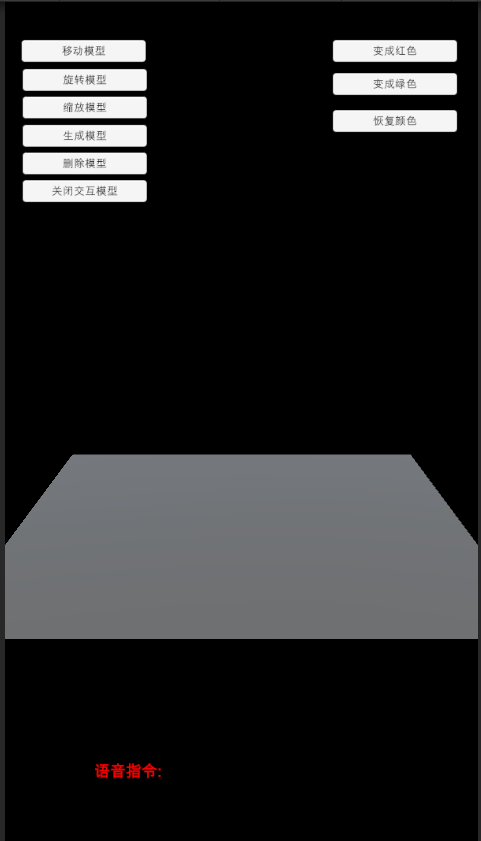
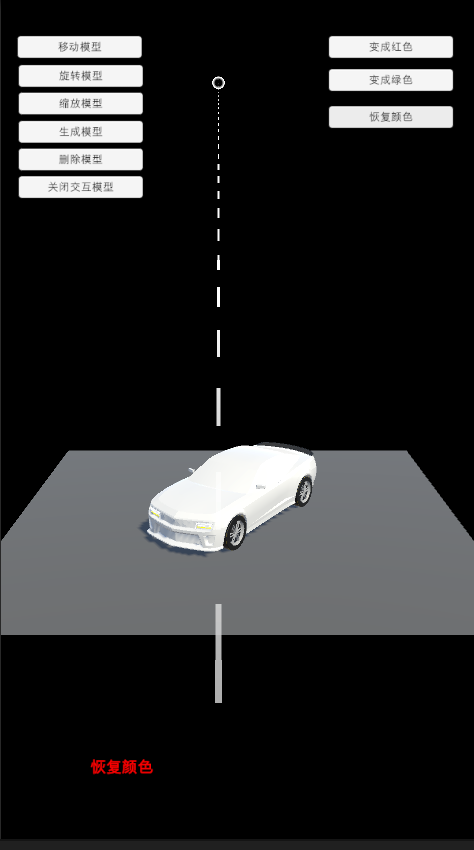
2. Game视窗显示如下:
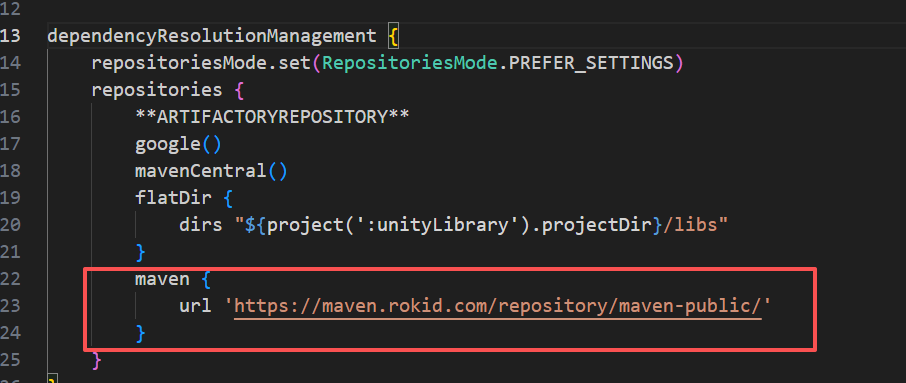
3. 环境配置跟着官网的文档配置即可 文档链接
4. 配置 Maven 仓库地址视图如下:
5. 配置插件依赖视图如下:

👉三、代码实现
因为是继续上一篇的代码实现的,所以还需要稍微的修改一下
-
ModelData.cs 代码如下:
using System.Collections;
using System.Collections.Generic;
using UnityEngine;
using Battlehub.RTHandles;

public class ModelData : MonoBehaviour
{
    public static ModelData instacne;

    public Transform carPrefab;
    public Transform cartemporary;   //临时的
    public PositionHandle positionHandle;
    public RotationHandle rotationHandle;
    public ScaleHandle scaleHandle;


    private void Awake()
    {
        instacne = this;
    }
    // Start is called before the first frame update
    void Start()
    {

    }
    /// <summary>
    /// 生成模型
    /// </summary>
    public void CreateModel()
    {
        if (cartemporary==null)
        {
            Transform transfo = Instantiate(carPrefab);
            cartemporary = transfo;
        }


    }
    /// <summary>
    /// 移动模型
    /// </summary>
    public void PosModel()
    {
        CloseJH();
        if (cartemporary != null)
        {
            cartemporary.GetComponent<PositionHandle>().enabled = true;
        }

    }
    /// <summary>
    /// 旋转模型
    /// </summary>
    public void RotModel()
    {
        CloseJH();
        if (cartemporary != null)
        {
            cartemporary.GetComponent<RotationHandle>().enabled = true;
        }

    }
    /// <summary>
    /// 缩放模型
    /// </summary>
    public void ScaModel()
    {
        CloseJH();
        if (cartemporary != null)
        {
            cartemporary.GetComponent<ScaleHandle>().enabled = true;
        }

    }
    /// <summary>
    /// 删除模型
    /// </summary>
    public void DesModel()
    {
        if (cartemporary != null)
        {
            Destroy(cartemporary.gameObject);
        }
    }

    public void CloseJH()
    {
        if (cartemporary != null)
        {
            cartemporary.GetComponent<PositionHandle>().enabled = false;
            cartemporary.GetComponent<RotationHandle>().enabled = false;
            cartemporary.GetComponent<ScaleHandle>().enabled = false;
        }
    }

}
-
离线语言的设置脚本如下 代码:RecognitionVoice.cs
using Rokid.UXR.Module;
using System.Collections;
using System.Collections.Generic;
using UnityEngine;
using UnityEngine.Android;
using UnityEngine.UI;

public class RecognitionVoice : MonoBehaviour
{
    private bool isInitialized ;
    public Text infoText;   //语音指令
    private void Awake()
    {
        if (!Permission.HasUserAuthorizedPermission("android.permission.RECORD_AUDIO"))
        {
            Permission.RequestUserPermission("android.permission.RECORD_AUDIO");
        }
    }
    // Start is called before the first frame update
    void Start()
    {
        InitializeVoiceControl();
    }
    /// <summary>
    /// 初始化语音控制
    /// </summary>
    private void InitializeVoiceControl()
    {
        if (!isInitialized)
        {
            ModuleManager.Instance.RegistModule("com.rokid.voicecommand.VoiceCommandHelper", false);
            OfflineVoiceModule.Instance.ChangeVoiceCommandLanguage(LANGUAGE.CHINESE);
            isInitialized = true;
        }
        AddVocies();
    }

    public void AddVocies()
    {
        OfflineVoiceModule.Instance.AddInstruct(LANGUAGE.CHINESE, "变成红色", "bian cheng hong se", this.gameObject.name, "OnReceive");
        OfflineVoiceModule.Instance.AddInstruct(LANGUAGE.CHINESE, "变成绿色", "bian cheng lv se", this.gameObject.name, "OnReceive");
        OfflineVoiceModule.Instance.AddInstruct(LANGUAGE.CHINESE, "恢复颜色", "hui fu yan se", this.gameObject.name, "OnReceive");
        OfflineVoiceModule.Instance.Commit();
    }
    public  void OnReceive(string msg)
    {
        infoText.text = msg;
        Debug.Log("-RKX- UXR-Sample:: On Voice Response received : " + msg);

        if (string.Equals("变成红色", msg) || string.Equals("Show blue", msg))
        {
            Changecolor(Color.red);
        }
        else if (string.Equals("变成绿色", msg) || string.Equals("Show green", msg))
        {
            Changecolor(Color.green);

        }
        else if (string.Equals("恢复颜色", msg) || string.Equals("Show white", msg))
        {
            Changecolor(Color.white);

        }
        else
        {
            Debug.Log("voice OnResponse: " + msg);
        }
    }

    void Changecolor(Color color)
    {
        if (ModelData.instacne.cartemporary!=null)
        {
            Transform transf = ModelData.instacne.cartemporary;

            Material[ ] MATS= transf.GetChild(0).GetComponent<MeshRenderer>().materials;

            MATS[0].color = color;
        }

    }

    private void OnDestroy()
    {
        OfflineVoiceModule.Instance.ClearAllInstruct();
        OfflineVoiceModule.Instance.Commit();
    }
}
-
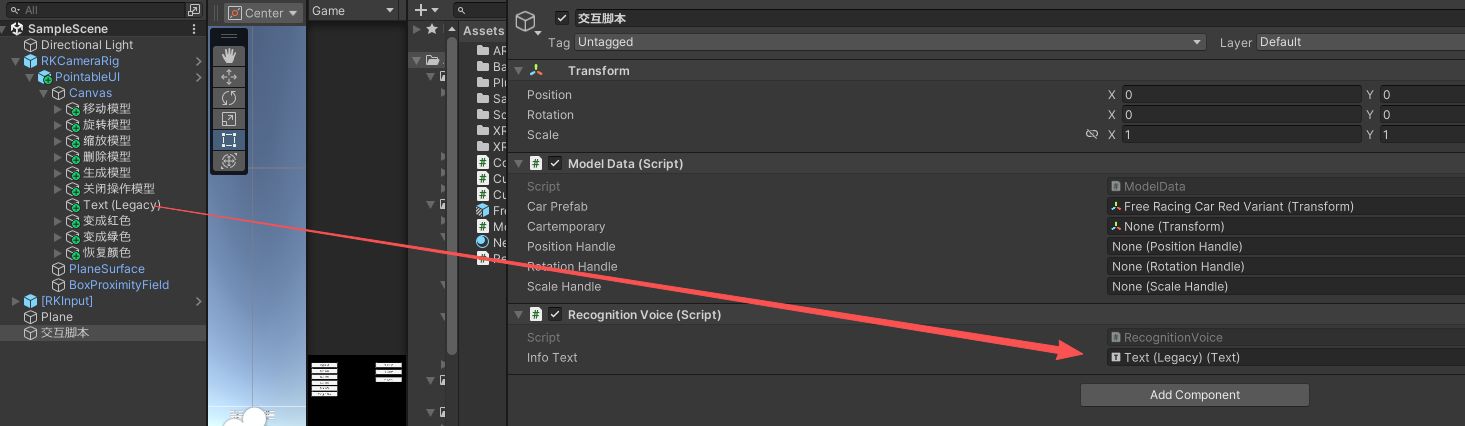
RecognitionVoice.cs脚本挂载到如下图所示
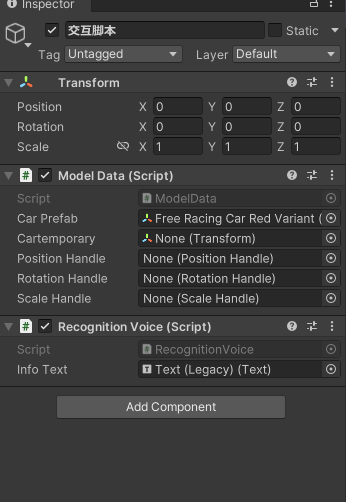
- 上面有一个显示当前语音的Text,拖到脚本里面
game里面显示的

新建的语音模拟按钮挂载脚本方法OnReceive()


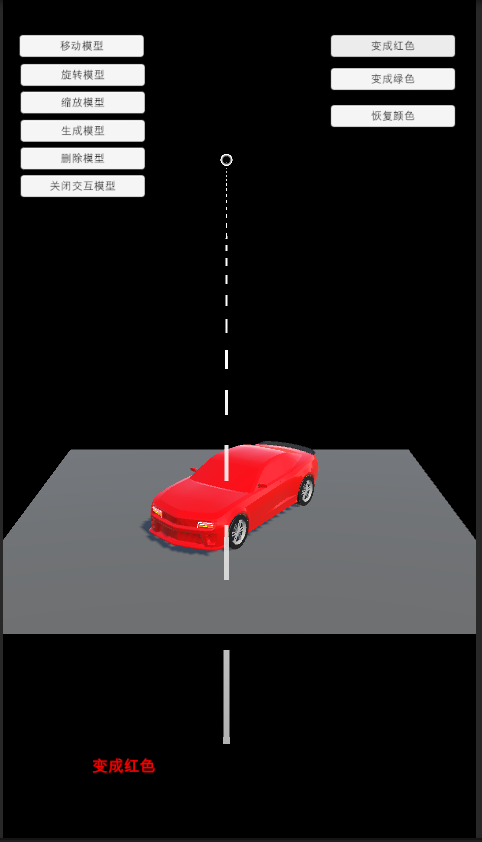
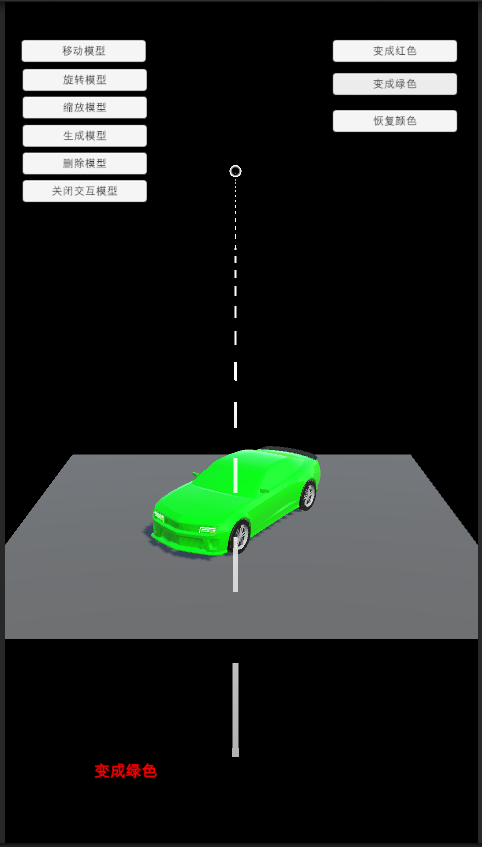
5. 运行点击按钮的效果 点击模拟语音按钮下面text会显示对应语音信息
6. 最后发布即可测试效果。
注意:当前支持中、英文识别,需要注意,使用过程中仅允许使用同一语种,不可混用。
👉壁纸分享

👉总结
本次总结的就是 离线语音指令交互模型实现, 有需要会继续增加功能 如能帮助到你,就帮忙点个赞吧,三连更好哦,谢谢 你的点赞就是对博主的支持,有问题记得留言评论哦! 不定时更新Unity开发技巧,觉得有用记得一键三连哦。么么哒!

 浙公网安备 33010602011771号