
Ubuntu布署Blazor Server
《1》Ubuntu中配置.NET Core
1.1 在ubuntu.24.04-x64系统中安装安装 ASP.NET Core运行时
| 1. 安装基础工具 | sudo apt install -y software-properties-common |
确保系统拥有 add-apt-repository命令,用于添加软件源
|
| 2. 添加 Backports 源 | sudo add-apt-repository ppa:dotnet/backports
|
添加包含 .NET 9 的官方后移植软件源。 |
| 3. 更新软件列表 | sudo apt update |
刷新软件包列表,使新添加的源中的包信息生效。 |
| 4. 安装运行时 | sudo apt install -y aspnetcore-runtime-9.0
|
安装 ASP.NET Core运行时(推荐,它包含了基础的 .NET 运行时)。如果你想安装完整的 SDK 进行开发,可以使用 sudo apt install -y dotnet-sdk-9.0。 |
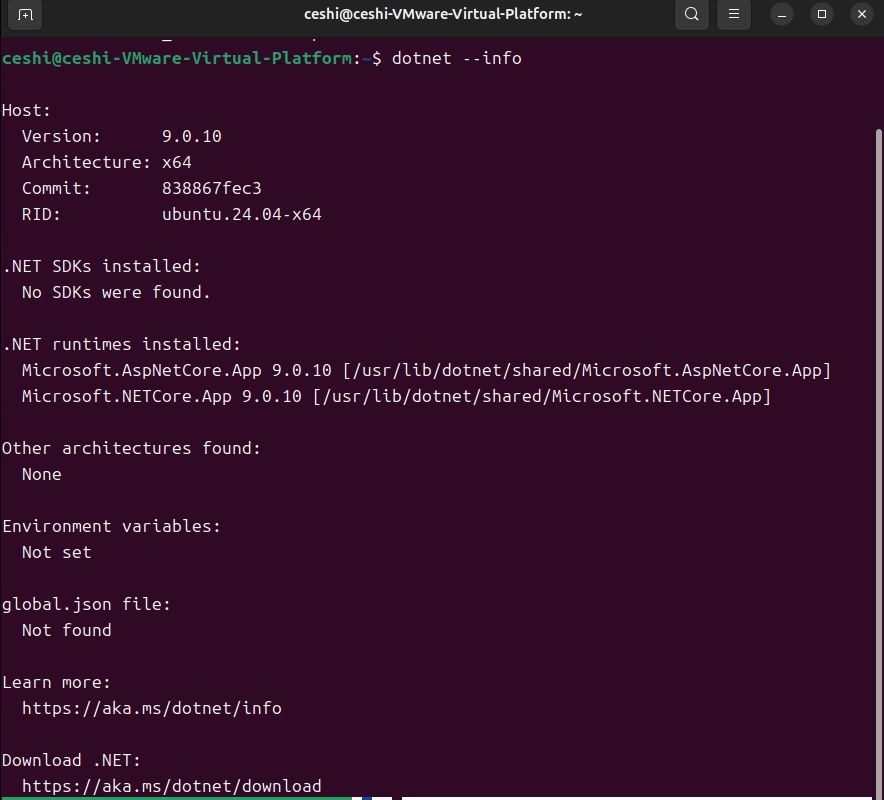
验证安装是否成功
dotnet --info
如下图所示是安装成功
1.2 把Blazor server发布成Linux-64运行程序,使用WinSCP把发布的程序传送到Ubuntu中,并且修改程序目录的权限
sudo chmod 777 /path/to/your/target_directory
文件传送结束后把当前目录修改成755权限
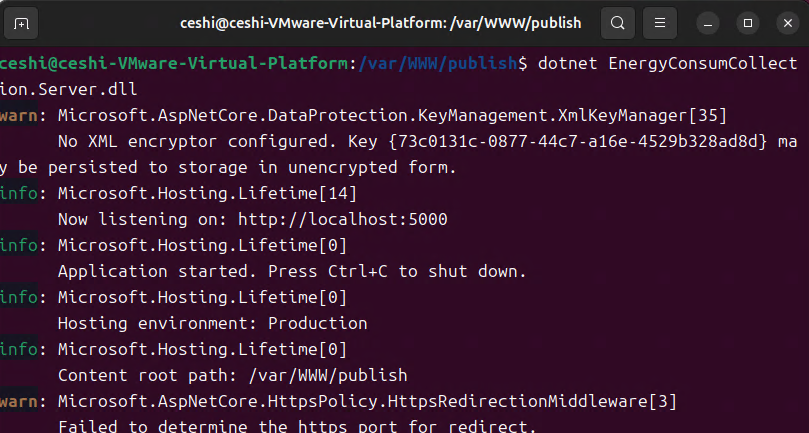
1.3:进入程序当前的目录执行如下命令
dotnet EnergyConsumCollection.Server.dll
这样网站就可以在本地访问,如下图所示
《2》Nginx代理配置
2.1 安装Nginx
# 安装Nginx
sudo apt install -y nginx

# 启动并设置开机自启
sudo systemctl start nginx
sudo systemctl enable nginx

# 检查状态
sudo systemctl status nginx
2.2 基础防火墙配置
# 启用防火墙(如果使用ufw)
sudo ufw enable
sudo ufw allow 'Nginx Full'
sudo ufw allow ssh
sudo ufw status
2.3 Nginx反向代理配置
创建Nginx站点配置文件
sudo nano /etc/nginx/sites-available/blazor-app
server {
    listen 80;
    server_name your-domain.com;  # 替换为您的域名或服务器IP
    client_max_body_size 100M;    # 根据需要调整上传文件大小限制

    # 静态文件优化
    location ~* \.(css|js|png|jpg|jpeg|gif|ico|svg|woff|woff2|ttf|eot)$ {
        expires 1y;
        add_header Cache-Control "public, immutable";
        proxy_pass http://localhost:5000;
        proxy_http_version 1.1;
        proxy_set_header Upgrade $http_upgrade;
        proxy_set_header Connection keep-alive;
        proxy_set_header Host $host;
        proxy_cache_bypass $http_upgrade;
        proxy_set_header X-Forwarded-For $proxy_add_x_forwarded_for;
        proxy_set_header X-Forwarded-Proto $scheme;
    }

    # Blazor Server应用代理
    location / {
        proxy_pass http://localhost:5000;
        proxy_http_version 1.1;
        proxy_set_header Upgrade $http_upgrade;
        proxy_set_header Connection "upgrade";
        proxy_set_header Host $host;
        proxy_set_header X-Real-IP $remote_addr;
        proxy_set_header X-Forwarded-For $proxy_add_x_forwarded_for;
        proxy_set_header X-Forwarded-Proto $scheme;
        proxy_cache_bypass $http_upgrade;

        # Blazor Server特定优化
        proxy_connect_timeout 60s;
        proxy_send_timeout 60s;
        proxy_read_timeout 60s;  # 重要:Blazor需要长连接

        # 缓冲区设置
        proxy_buffering off;
        proxy_request_buffering off;
    }

    # 健康检查端点(如果应用有健康检查)
    location /health {
        proxy_pass http://localhost:5000/health;
        access_log off;
    }
}
2.4 启用站点配置
# 创建符号链接
sudo ln -s /etc/nginx/sites-available/blazor-app /etc/nginx/sites-enabled/

# 测试配置语法
sudo nginx -t

# 重新加载Nginx
sudo systemctl reload nginx
2.5 创建systemd服务管理Blazor应用
创建服务文件
sudo nano /etc/systemd/system/blazor-app.service
服务配置内容
[Unit]
Description=Blazor Server Application
After=network.target

[Service]
Type=exec
WorkingDirectory=/var/www/blazor-app
ExecStart=/usr/bin/dotnet /var/www/blazor-app/EnergyConsumCollection.Server.dll
Restart=always
RestartSec=10
KillSignal=SIGINT
TimeoutStopSec=90
SyslogIdentifier=blazor-app
User=www-data
Group=www-data
Environment=ASPNETCORE_ENVIRONMENT=Production
Environment=DOTNET_PRINT_TELEMETRY_MESSAGE=false
Environment=ASPNETCORE_URLS=http://localhost:5000

# 安全设置
NoNewPrivileges=true
PrivateTmp=true
ProtectSystem=strict
ProtectHome=true
ReadWritePaths=/var/www/blazor-app

[Install]
WantedBy=multi-user.target
2.6 启动并启用服务
# 重新加载systemd配置
sudo systemctl daemon-reload

# 启动服务
sudo systemctl start blazor-app.service

# 设置开机自启
sudo systemctl enable blazor-app.service

# 检查服务状态
sudo systemctl status blazor-app.service

# 查看实时日志
sudo journalctl -u blazor-app.service -f
《3》异常问题处理
3.1出现 Welcome to nginx! If you see this page, 的解决方法
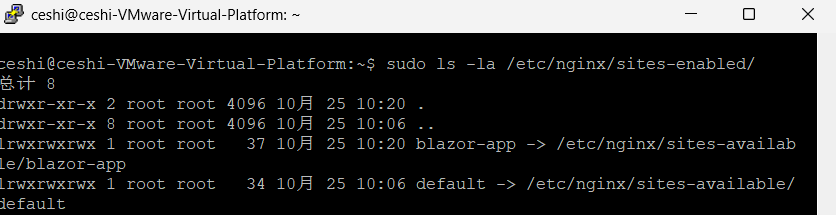
# 检查启用的站点
sudo ls -la /etc/nginx/sites-enabled/

# 检查默认站点是否还存在
sudo ls -la /etc/nginx/sites-enabled/default
下面是存在默认站点情况
解决方法禁用默认站点后可以解决
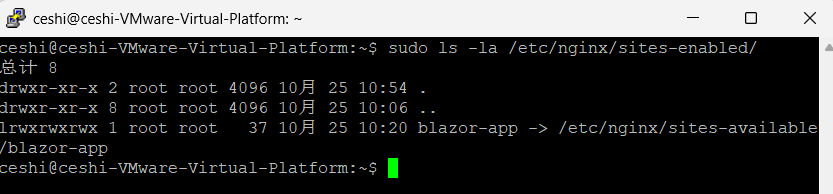
# 删除默认站点的启用链接
sudo rm -f /etc/nginx/sites-enabled/default

# 或者重命名
sudo mv /etc/nginx/sites-enabled/default /etc/nginx/sites-enabled/default.disabled
如下图所示中人有一个配置的代理站点,默认的已经没有了,现在可以远程登陆访问站点了。

 浙公网安备 33010602011771号